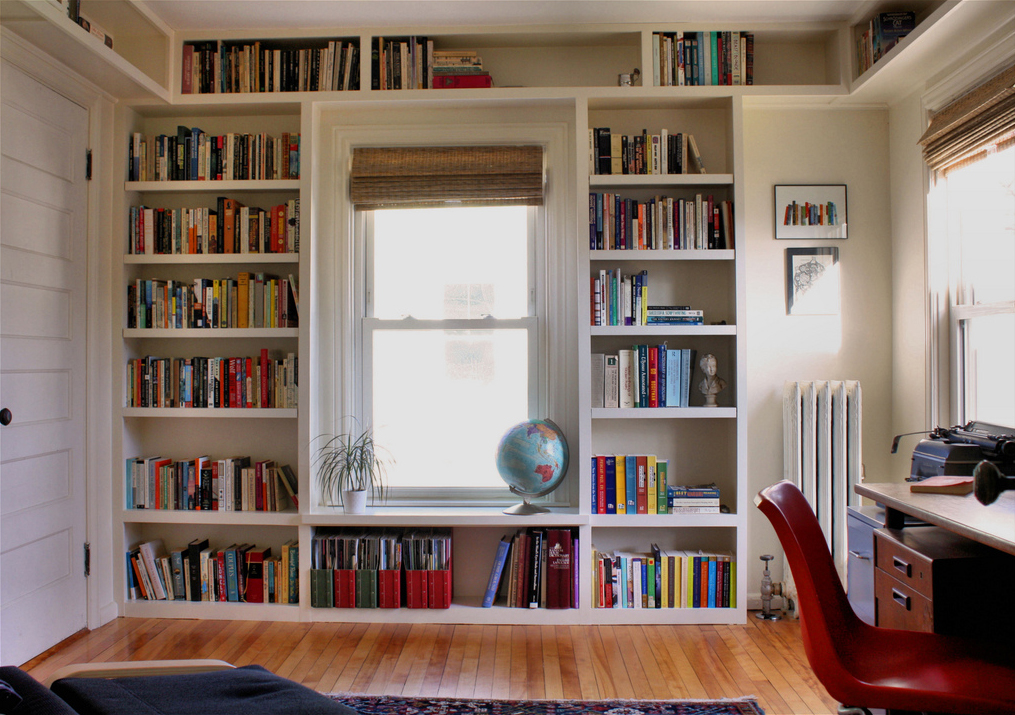
A traditional in-built bookcase would be made with solid wood boards, but this would be very expensive by today’s standards – upwards of £1000 for the lumber alone – so we suggest using MDF or plywood with a hardwood veneer. It will be both less expensive and stronger, and the sawn edges can be covered easily with trim. We suggest a birch veneer, as it gives you the most flexibility with stains and paints. If you are making a large bookcase, you’ll need a strong frame to hold the weight of all the books. Consider oak plywood for the legs (sides), and a double thickness at that!

1) Prepare the large pieces (supports, shelves and legs)
Most lumberyards will rip your lumber into boards of the correct dimensions for you. Do this if at all possible, as it will save you a great deal of time and effort. Before cutting or assembling any of the pieces, plane or sand the boards if necessary (you can hire an excellent Electric Wood Planer here) and either stain or prime them.
Measure the height of the wall that will receive the in-built bookcase. Cut two legs to this height from your ripped boards. Next, measure the width of the space. Subtract the width of your supports, and cut the desired number of shelves, and one more for the top.
Decide where you wish the shelves to be positioned, and mark the legs where the supports will be placed. The easiest way to do this is to hold one leg in place and mark where you wish the bottom of each shelf to lay. Be aware of the surrounding room, and try to line them up with the baseboards and any other parallel architectural features. Duplicate those marks on the opposite leg with a framing square or a straight edge.
Measure the height between the lines to get the height of any mid-shelf support pieces you’ll need, and cut them from the ripped board. Make sure the supports for the top layer are one thickness short to accommodate the top board, and to recess the lowest supports to accommodate a kickplate.
2) Attach the shelf supports
We suggest using both glue and nails or screws to attach the supports. If you don’t have a woodworking power screwdriver to hand, hire one of Plantool’s Cordless Combi Hammer Drill.
First attach the side supports, starting with the lowest. Space with a scrap of shelf board, and work your way up in this fashion, first on one leg then the other.
3) Build the box
Start by ripping a thin hanging strip of your plywood. Make it two board-thicknesses shorter than your shelves, to accommodate the top shelf supports. Lay the two legs in position, with the supports facing in. Place the hanging strip between the top shelf supports. It should be flush with the supports themselves. Drill pilot holes through the legs, supports and pilot strips. Screw them together with wood screws. Next, insert the bottom self for support, and use glue and screws to attach the top.
4) Make it all plumb and level
This is the stage at which you make sure the entire project doesn’t come out wonky. Slide the shelves into the slots, and check each one for level. If one side needs to be raised, tap in a thin ship under the foot to accomplish this. It will be hidden by the kickplate.
Now use the level on a vertical to make sure the case is plumb. Again, use shims against the back to achieve a true 90o angle. Only now will you secure the case to the walls, drilling into the stud or brick to attach it all.
5) Fix the kickboard
Put at least one middle support in at the lowest level to receive the kickplate. Nail it in place through the bottom shelf with finishing nails.
Cut a piece of your board to fit, flush with the front of the legs, and attach with more finishing nails
6) Use trim or nosing to hide all the cut plywood edges
Cut any trim or nosing to fit, and attach it with glue and finishing nails.
There. Done and dusted. Just let it all dry, then fill with books, trinkets and other clutter.
Image credits: Jennifer Tabb


 Full range
 Plant Sales
 Plant Hire
 Careers at Plantool


 Follow us @hirecentres


