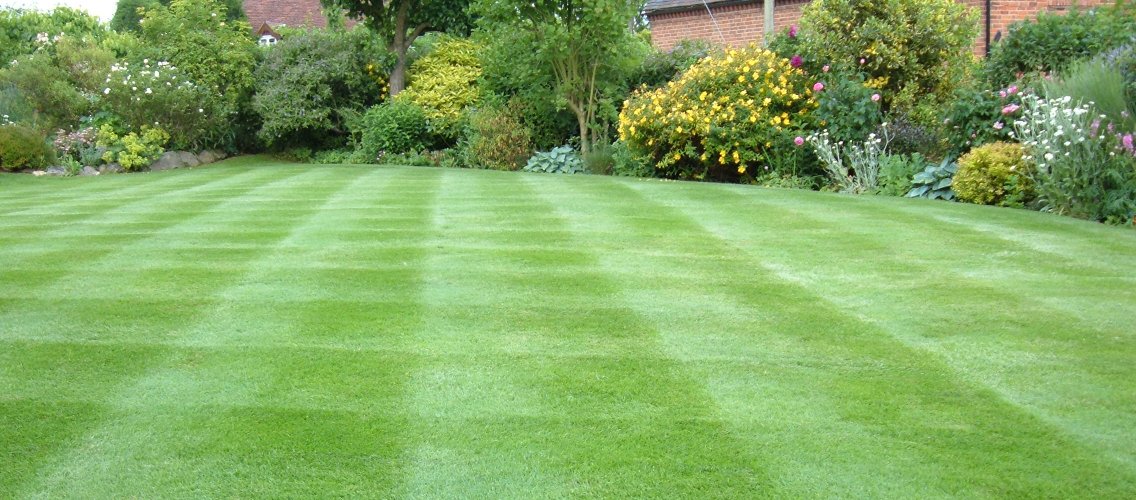
Laying a new lawn can seem like an intimidating prospect, with lacklustre results typically achieved by the novice when compared to that of a professional. Yet laying a turf that takes well, and that leads to a lush lawn in the upcoming spring and summer season, is simply a matter of following set steps to the letter.

First things first: A brief overview of turf types
Typically turf is sold in rolled lengths of 3 foot by 1 foot by 1.5/2 inches; such sizes can be surprisingly difficult to carry and manoeuvre – particularly if they’ve been made damp through wet weather.
There are generally two main forms of turf: Meadow grass turf, and seeded turf.
Meadow grass turf
This turf is literally cut directly from a meadow and whilst it provides for the cheapest price point, it also can include uneven grass types, as well as weeds. That said, this may be the best option for homes with heavy wear, children and pets.
Seeded turf
Seeded turf is of far superior quality as compared to meadow grass turf and shouldn’t contain any weeds.
Preparing the site for the lawn
Before you even begin to think about the actual laying of the lawn, it’s vital that the site is well prepared, following these steps:
- Drain the site; if the area is suffering from water retention issues then you may need to consult a professional as to whether drainage pipes will be required.
- If the site was home to an old lawn then the existing grass should be dug down two inches deep. A turf cutter can help drastically cut down the time that it takes to undertake this step, and can provide for an easy to use setting that sets the depth of the lawn (a key factor to whether your lawn will be laid correctly).
- For clay or sandy soils, you’ll need to follow some special steps:
- Clay soil
If your soil is of a clay type then you’ll require both sand, as well as decomposed manure, compost or rotten leaves. This will help overcome the drainage issues that clay soil typically suffers from.
- Sandy soils
For sandy soils that would otherwise suffer from dryness decomposed manure or rotten leaves can be added to aid moisture retention.
- To prepare the top soil of a recommended 4 to 5 inches (between 10 and 12 cm), or 6 inches (15 cm) if you plan to add organic materials as described above, you should use a rotovator to produce a finely ground soil.
To begin you should ensure that the soil is neither too dry, nor too damp, taking the rotovator to the entire area and working to break down any large chunks of soil. You should remove any rubbish or stones whilst you work, and fill in uneven spaces with fresh soil whilst you progress. - Begin to lay the turf by using a garden line (rather than a path or wall, which will usually turn out not to be so straight); roll out each turf, aligning each to the last so that they fit snuggly.
When you begin the second row you’ll need to begin with a half piece of turf to create the right pattern (and avoid an unsightly lawn that looks like patch work). This should then be followed by a third row, which begins with a full turf piece, and then a half turf piece for the fourth, and so on.
Once you’ve reached the second from final row, you may find that you require less than the two turf widths that you’d otherwise lay. If this is the case you should measure and cut down the pieces for the second to last row, rather than the final one. - Roll the turf using a professional grade roller such as Plantool’s waterfilled roller, this will help both neaten the finish, as well as ensure that the turf is compacted down to successfully ‘take’ to the soil and materials beneath it. You can then trim any edges if necessary.
Image source:www.ivinghoeturf.co.uk


 Full range
 Plant Sales
 Plant Hire
 Careers at Plantool


 Follow us @hirecentres


